
Buyer Guide / 5 min read
Smart Toilet Installation Requirements Checklist
Check smart toilet rough-in, water pressure, voltage, GFCI outlet position, floor and valve requirements before ordering, installation or a project RFQ.
Key takeaways
- Rough-in is the single most common source of returns — measure from the finished wall to the drain center before ordering.
- A dedicated GFCI outlet within reach of the power cord is mandatory; extension cords create fire and shock hazards.
- Water pressure requirements differ by model — tankless units need 0.15 MPa minimum, tanked models from 0.06 MPa.
- Confirm voltage, plug type, and circuit protection against local electrical codes before the electrician leaves.
B2B sourcing checklist
Move from research to a model-specific quotation
Use the resources below to confirm specifications, compliance scope, order terms and delivery timing before requesting a quote.
A smart toilet installation needs four items confirmed before ordering: the finished-wall rough-in, model-specific water pressure, the correct voltage and a grounded GFCI outlet within cord reach. If any one is missing, pause the order and complete the site survey first.
This checklist covers what the plumber, electrician and buyer should verify before the unit arrives. Compare the current smart toilet models, download the available technical files, or send the completed site information through the project RFQ form.
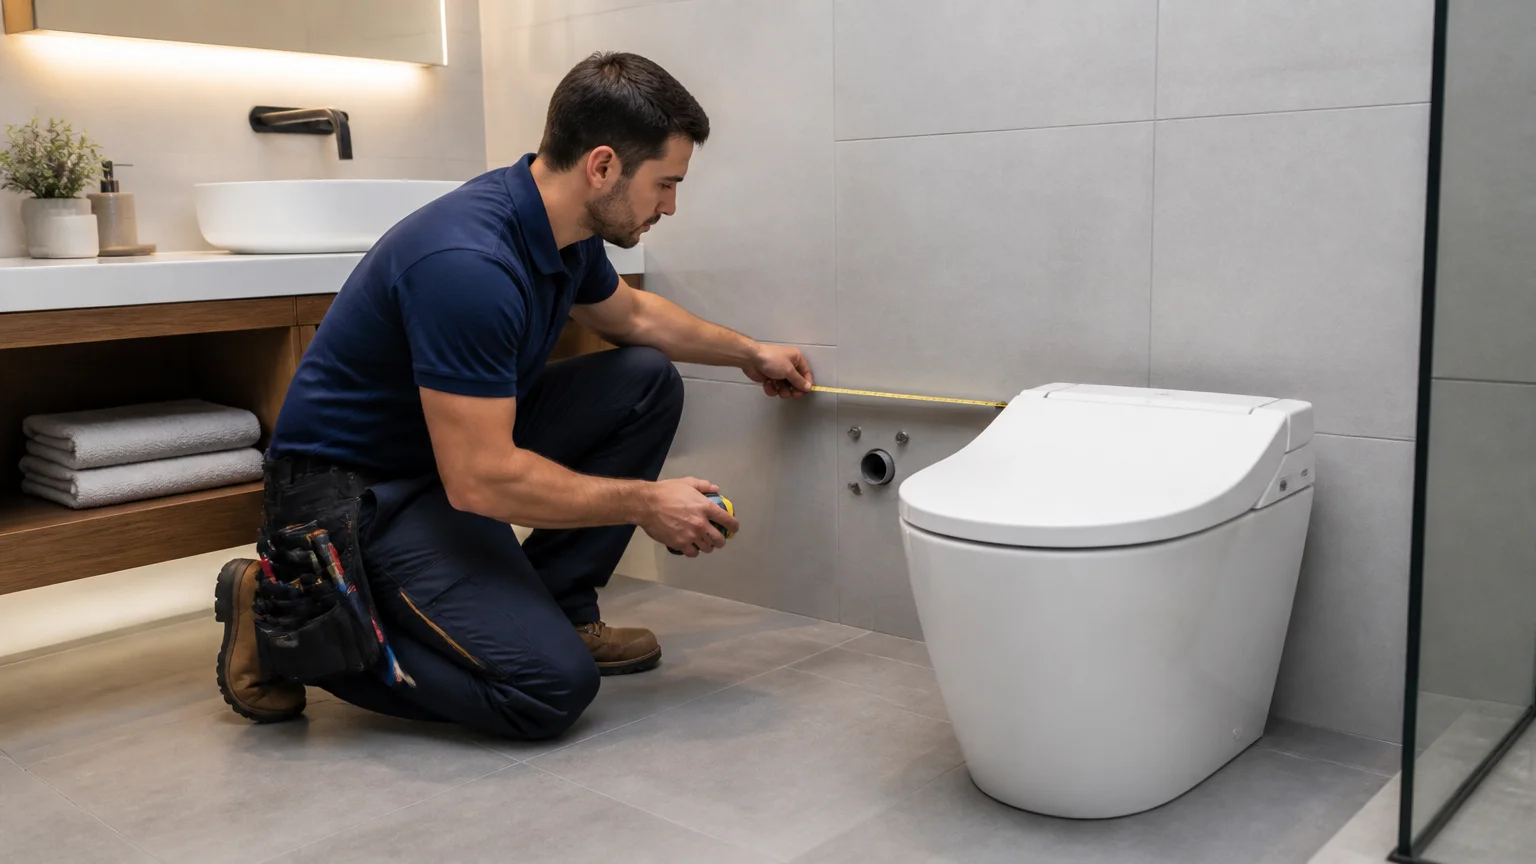
Rough-in: measure it yourself, do not trust the old toilet
Rough-in is the distance from the finished wall behind the toilet to the center of the floor drain. In North America, the standard is 12 inches (305 mm). Some older homes use 10-inch rough-ins. The number is simple — but getting it wrong means the toilet will not fit, and no adapter fixes it.
How to measure: measure from the finished wall surface (not the baseboard) to the center of the drain opening. If the old toilet is still installed, measure to the center of the closet bolts that hold it down.
In the Lavilys range, the A17 and A18 are fixed at 305 mm (12 inches). The W1 and K1 ship as a 300 mm or 400 mm option. The 6293 is fixed at 300 mm. If your customer’s bathroom uses a 400 mm rough-in, the W1 and K1 are the two models to shortlist.
Send the bathroom drawing before quoting. A rough-in mismatch is not something a plumber adjusts on site. For a deeper guide, read how to choose between 300 mm and 400 mm rough-in.
Electrical: the outlet that most bathrooms do not have
A smart toilet needs power. A standard bathroom toilet area typically does not have an outlet. This is the most commonly overlooked requirement.
| Requirement | Specification |
|---|---|
| Voltage | 110–120V AC, 60 Hz (North America) |
| Outlet type | GFCI-protected, 3-prong grounded |
| Circuit | Dedicated 10–15 amp circuit recommended |
| Position | Within reach of the power cord (typically 1.2–1.5 m), on the same side as the water shut-off |
| Height | Approximately 30 cm (12 in) above the floor |
Never use an extension cord. This is a fire and shock hazard in a wet environment, and it violates electrical code in most jurisdictions. If no outlet exists near the toilet, a licensed electrician must install one.
Eight of the eleven Lavilys models have a documented 110–130V, 50/60 Hz configuration. The remaining three are configuration-dependent — their voltage is confirmed in writing before quotation. For the full electrical guide, read smart toilet voltage requirements for North America.
Water pressure: the difference between a clean flush and a callback
Smart toilet water pressure requirements vary by model type. Tankless units and tanked units have different thresholds:
| Model type | Minimum pressure | Models |
|---|---|---|
| Tankless integrated | 0.15 MPa (static) | A17, A18, S21G |
| Tanked integrated | 0.06 MPa (static) | W1, K1, 6293 |
| Bidet seats | 0.06–0.07 MPa | T1, B04 |
If your customer’s property has low water pressure — common on upper floors of older buildings — specify a tanked model. The built-in tank provides the flush pressure that the incoming supply cannot.
What to check: confirm static and dynamic pressure at the installation site. A pressure gauge on the shut-off valve gives a reading in 30 seconds. If the dynamic pressure drops significantly below the static reading, the supply line may be undersized.
Space and clearance
Before the unit ships, verify:
- Side clearance: minimum 15 inches (38 cm) from toilet centerline to any wall, vanity, or fixture.
- Front clearance: at least 24 inches (61 cm) from the front of the bowl to the opposite wall or door swing.
- Lid clearance: measure the open-lid height for auto-lid models (A18, K1, W1, 6293). Make sure shelves and cabinets do not block it.
Pre-installation checklist for the installer
Give this to the plumber or contractor before the unit arrives:
☐ GFCI outlet installed and tested — within cord reach of the toilet position
☐ Water shut-off valve accessible and functional — ½-inch quarter-turn recommended
☐ Shut-off valve positioned at the side of the toilet, not directly behind it
☐ Floor is level and solid — no flex, no water damage under the old toilet
☐ Toilet flange inspected — no cracks, corrosion, or loose mounting
☐ Supply lines flushed for 2–5 minutes before connecting (clears sediment)
☐ T-valve connector installed at shut-off to split between tank and bidet supply
☐ Drain pipe opening cleaned — no burrs, old wax, or debris
Tools the installer needs
- Adjustable wrench, screwdriver, tape measure, level
- Teflon tape (3–7 wraps on all threaded connections)
- Wax ring or high-quality rubber gasket for the flange seal
- Mold-resistant silicone sealant for the base-to-floor gap
- Electric drill with masonry bit if mounting to tile
Installation order
- Turn off water supply. Remove old toilet. Clean the flange surface.
- Install the mounting bracket or flange bolts according to the model’s manual.
- Position the toilet body onto the flange. Press down firmly to compress the wax ring.
- Connect the water supply line. Open the shut-off valve. Check for leaks.
- Plug into the GFCI outlet. Turn on the circuit.
- Test: flush cycle, bidet functions, seat heating, warm-air dryer, sensors.
- Apply mold-resistant silicone to the base-to-floor joint. Allow 24 hours to cure.
When the model record has more detail than the manual
Lavilys provides model-specific specification sheets that include the rough-in dimension, voltage range, water pressure range, and required clearances for each model. These are the documents to hand to the electrician and plumber — not the marketing brochure.
Download model-specific manuals for the units in your order.
For after-sales support — installation questions, troubleshooting, or warranty claims — the product support page has the direct contact path. All Lavilys units carry a 2-year warranty. Quality defects are covered. Free replacement parts ship after technical confirmation.
Frequently asked questions
What needs to be prepared before a smart toilet arrives?
Confirm the rough-in and flange, provide the correct shut-off valve and water pressure, install the required grounded GFCI supply, and make sure the finished floor is level and ready for sealing.
Should the electrician or plumber review the model first?
Both should receive the same model-specific specification sheet. The plumber needs the drain, valve and pressure requirements; the electrician needs voltage, load, protection and outlet-position information.
Where can a project request installation documents?
Start with the technical download library. If the model file is not published, send the model, quantity and destination through the project inquiry form.
Related pages
Referenced models
Products discussed in this article
A17 Integrated Smart Toilet
U-shaped integrated smart toilet with siphon jet flushing, foot-sensor operation and a full comfort function set — CUPC, UL and FCC certified for the North American market.
View specifications Smart ToiletA18 Integrated Smart Toilet
A17 sibling with microwave-sensing auto lid and foot-sensor operation — adds hands-free open/close for hospitality and premium residential use.
View specifications Smart ToiletW1 Integrated Smart Toilet
A compact 110V integrated model with direct side control, temperature feedback and a documented comfort function set.
View specifications Smart ToiletK1 Integrated Smart Toilet
110V integrated smart toilet with remote and side-knob control, automatic lid and flush functions, and a documented four-level comfort system.
View specificationsNext step
Send us the project details
Share the market, quantity, site conditions and documentation you need. Our technical team confirms configuration and compliance scope before anything is quoted.